Free crochet cardigan pattern … Slightly adapted for the ‘catwalk’!

I am loving this technological world!!!

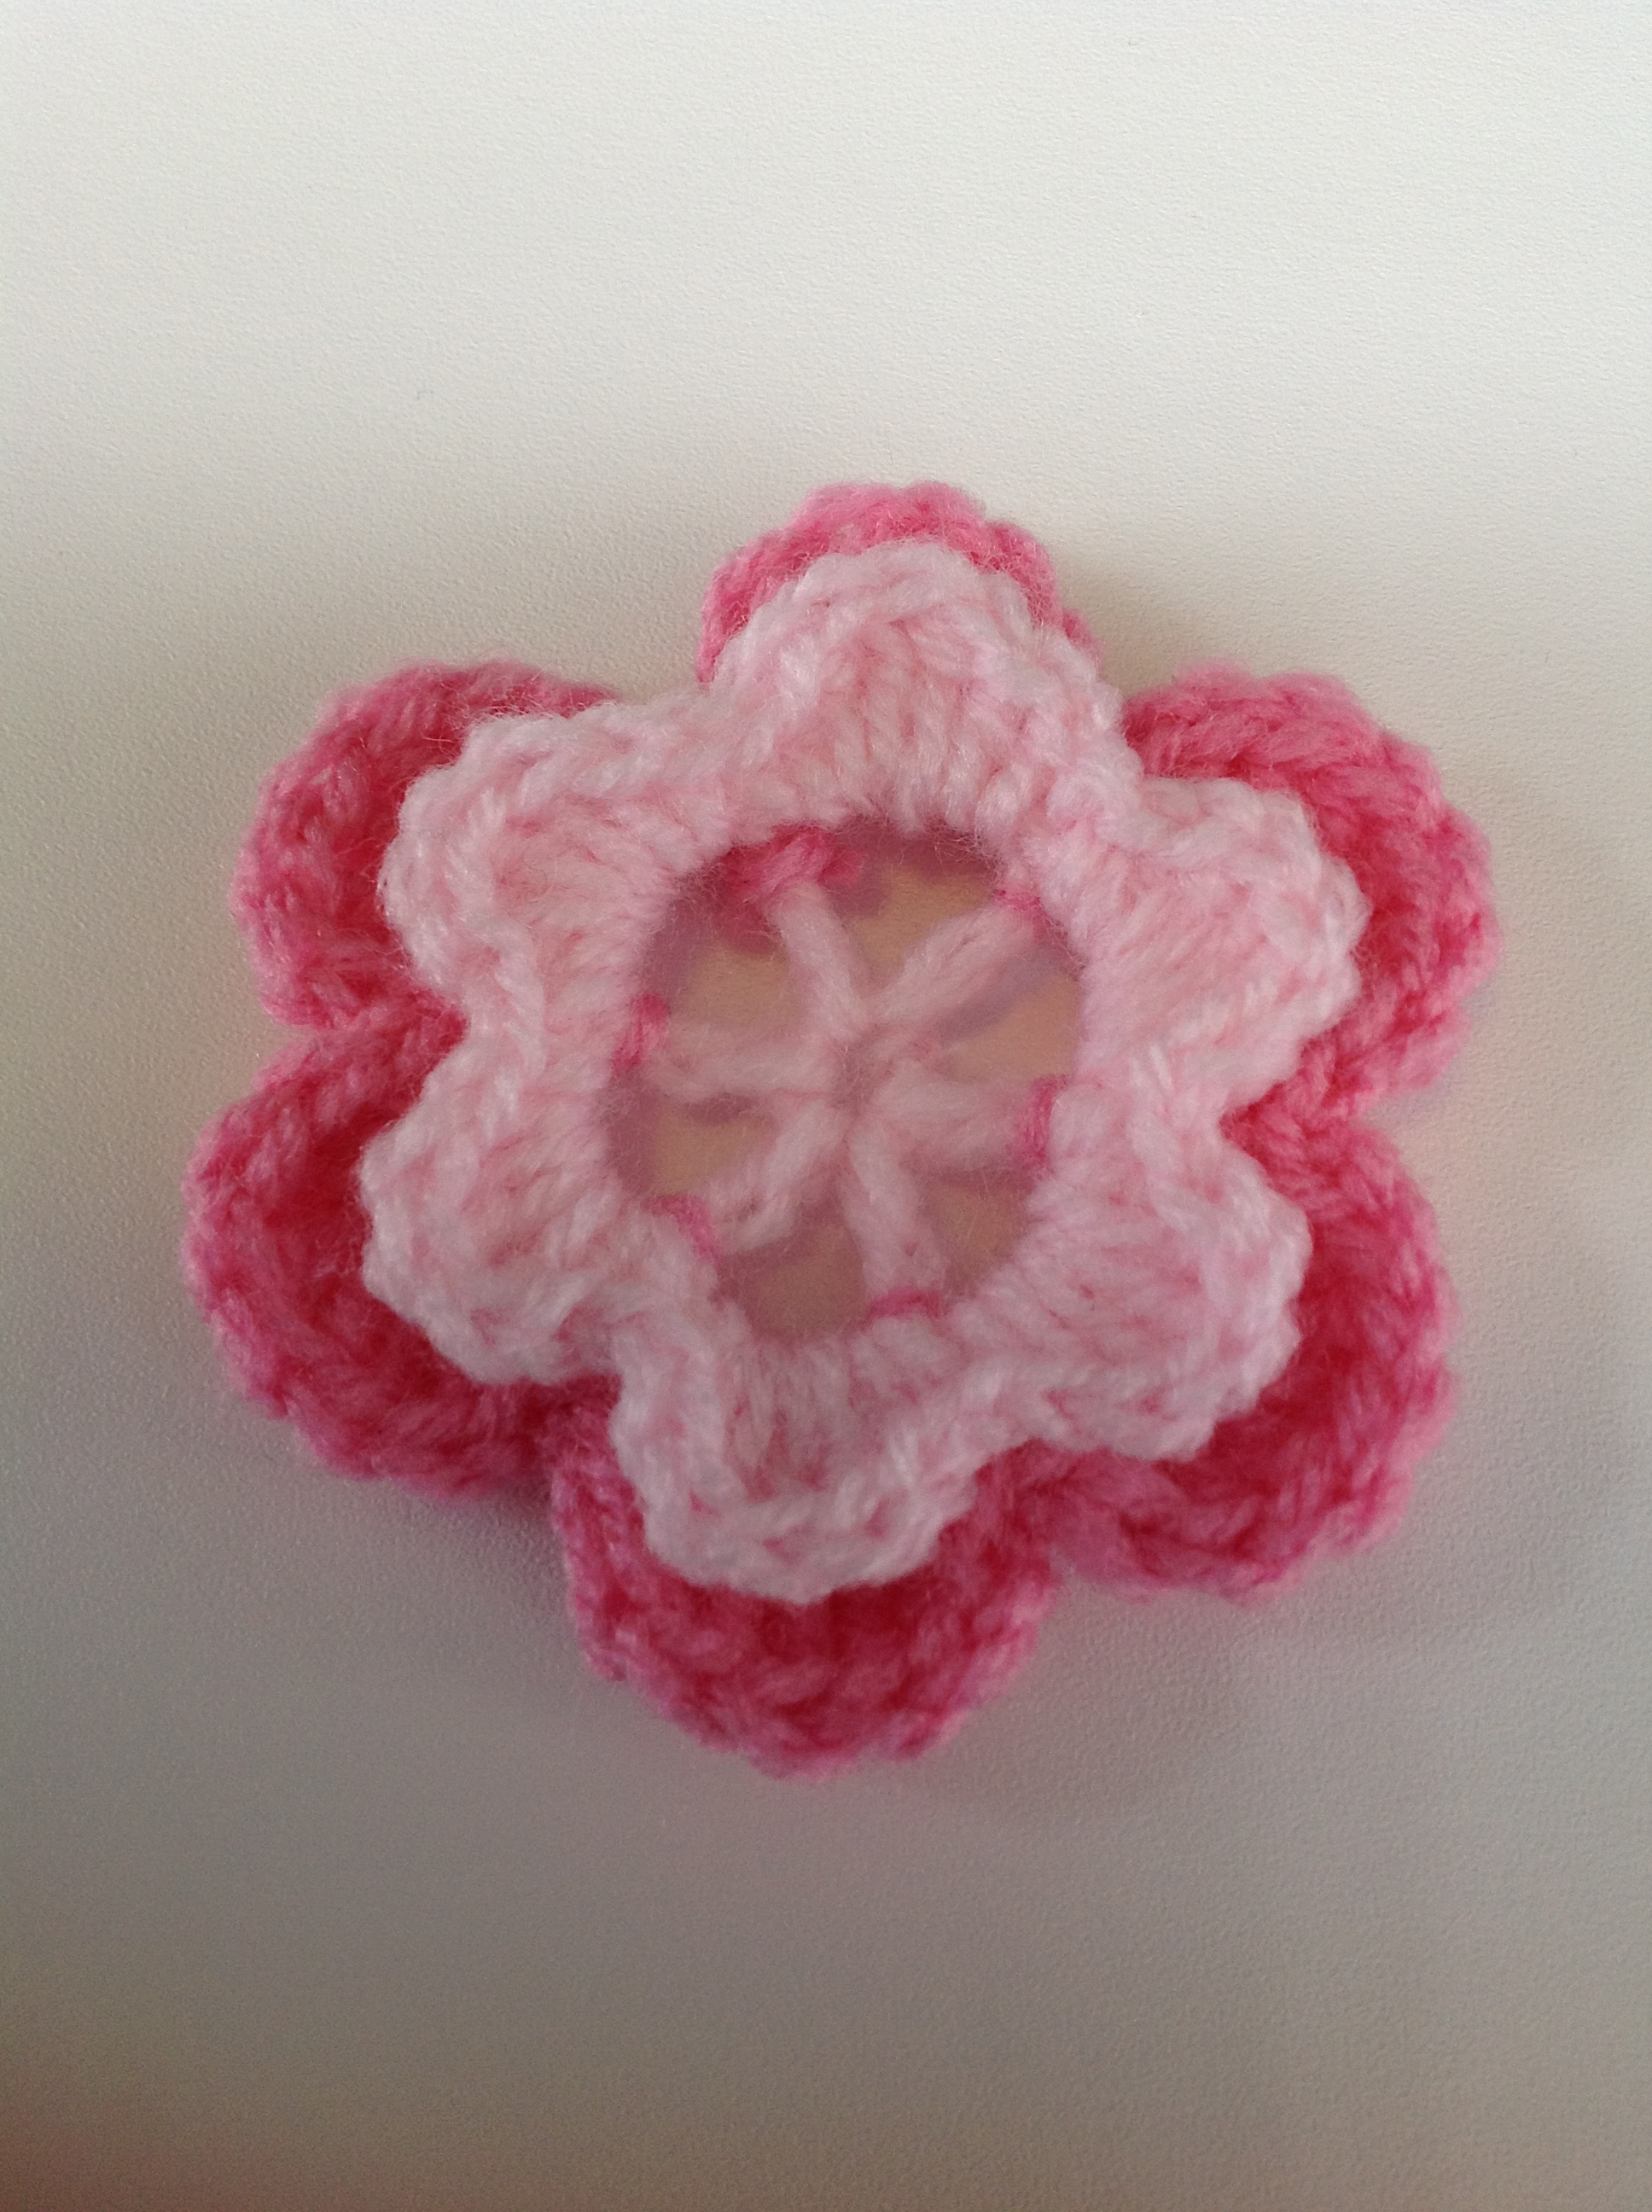
My free crochet baby cardigan pattern is proving to be exceptionally popular and I absolutely love hearing from everyone that uses it!

20121022-234421.jpg

Thank you so much everyone for all of the positive feedback!

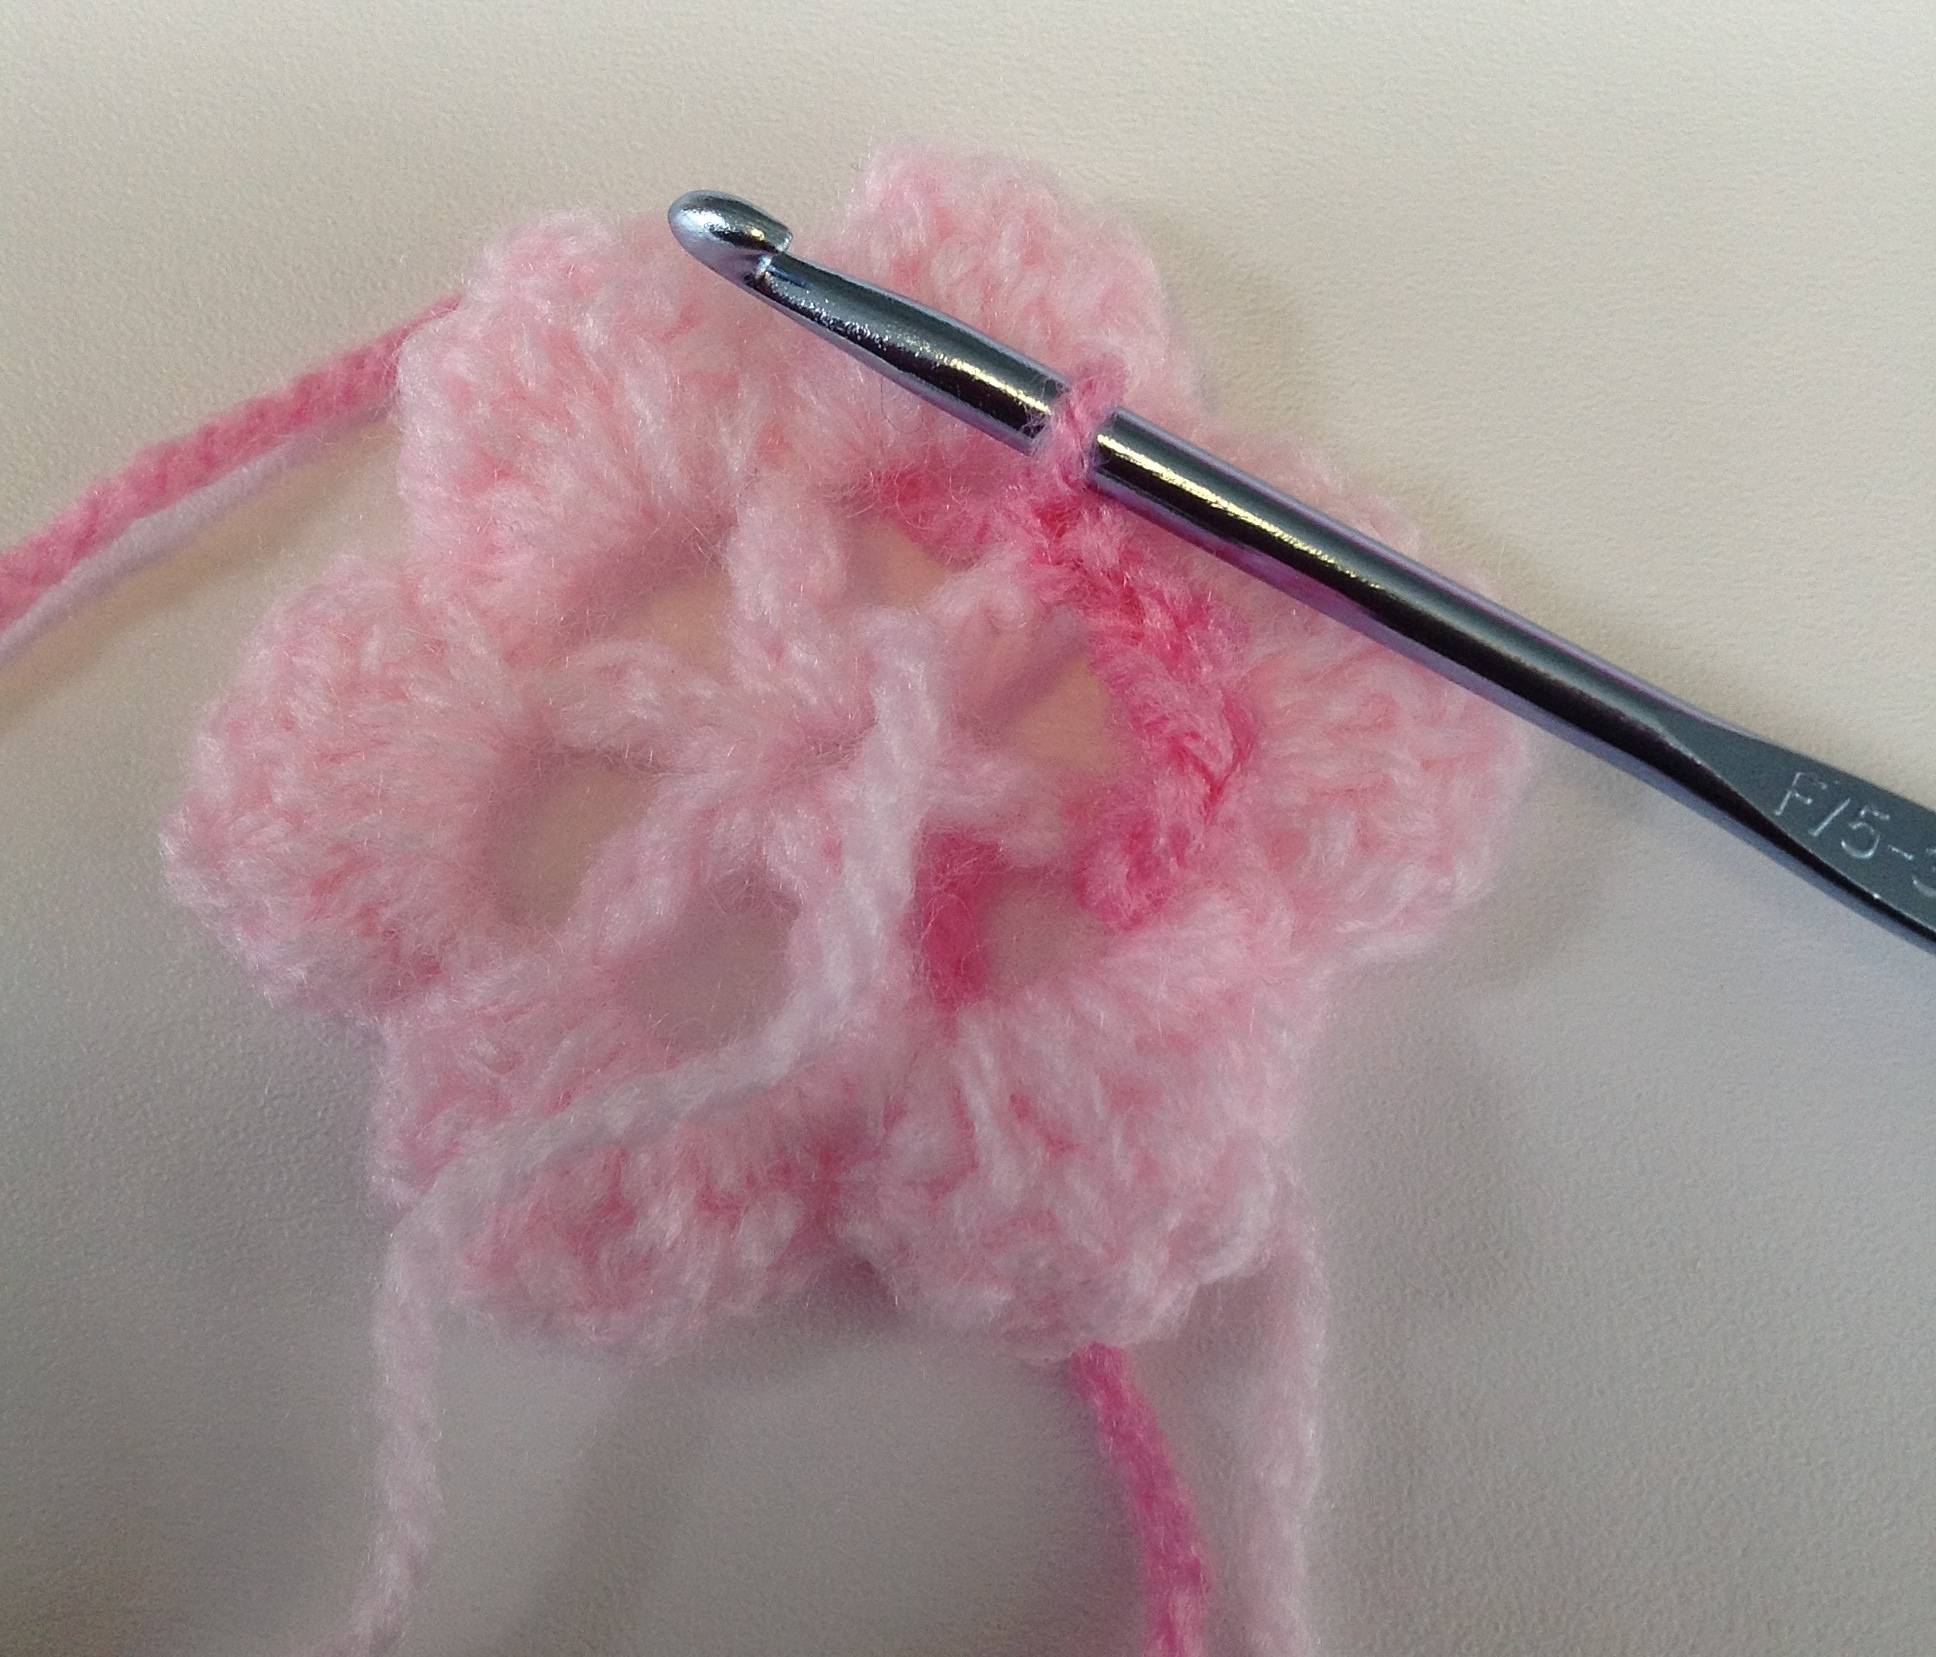
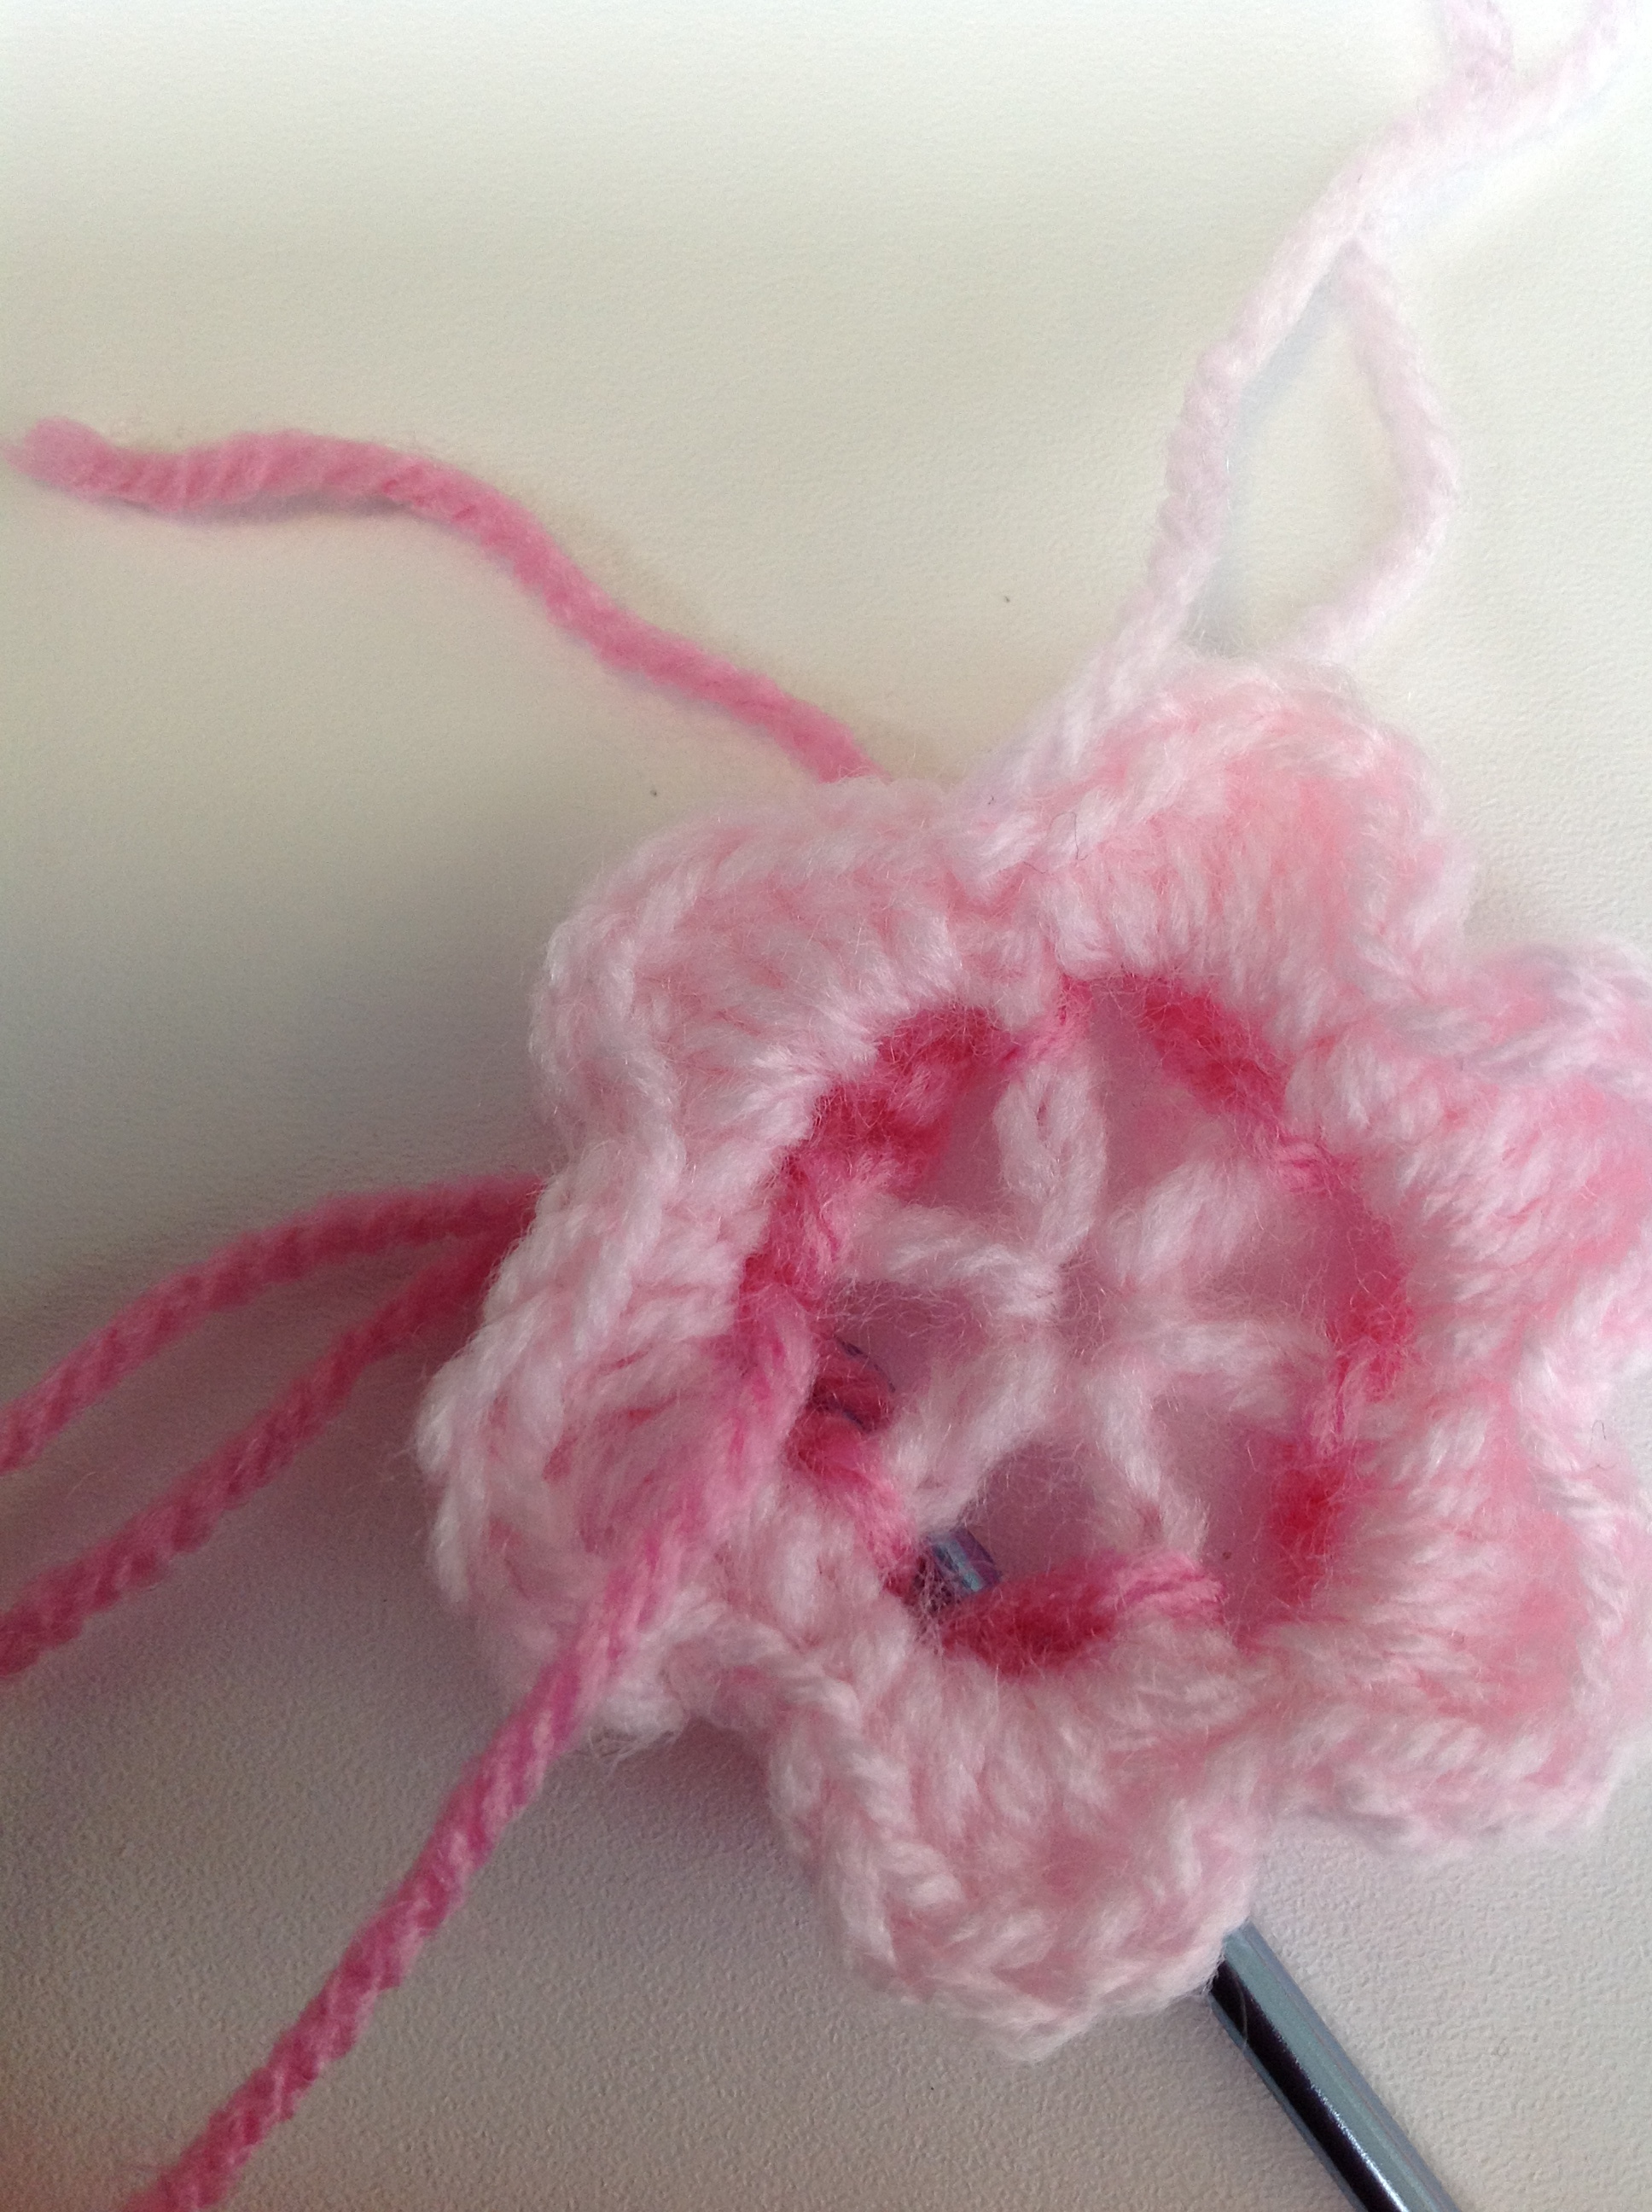
Well, tonight I decided to adapt the sizing of the pattern …

20121022-234334.jpg

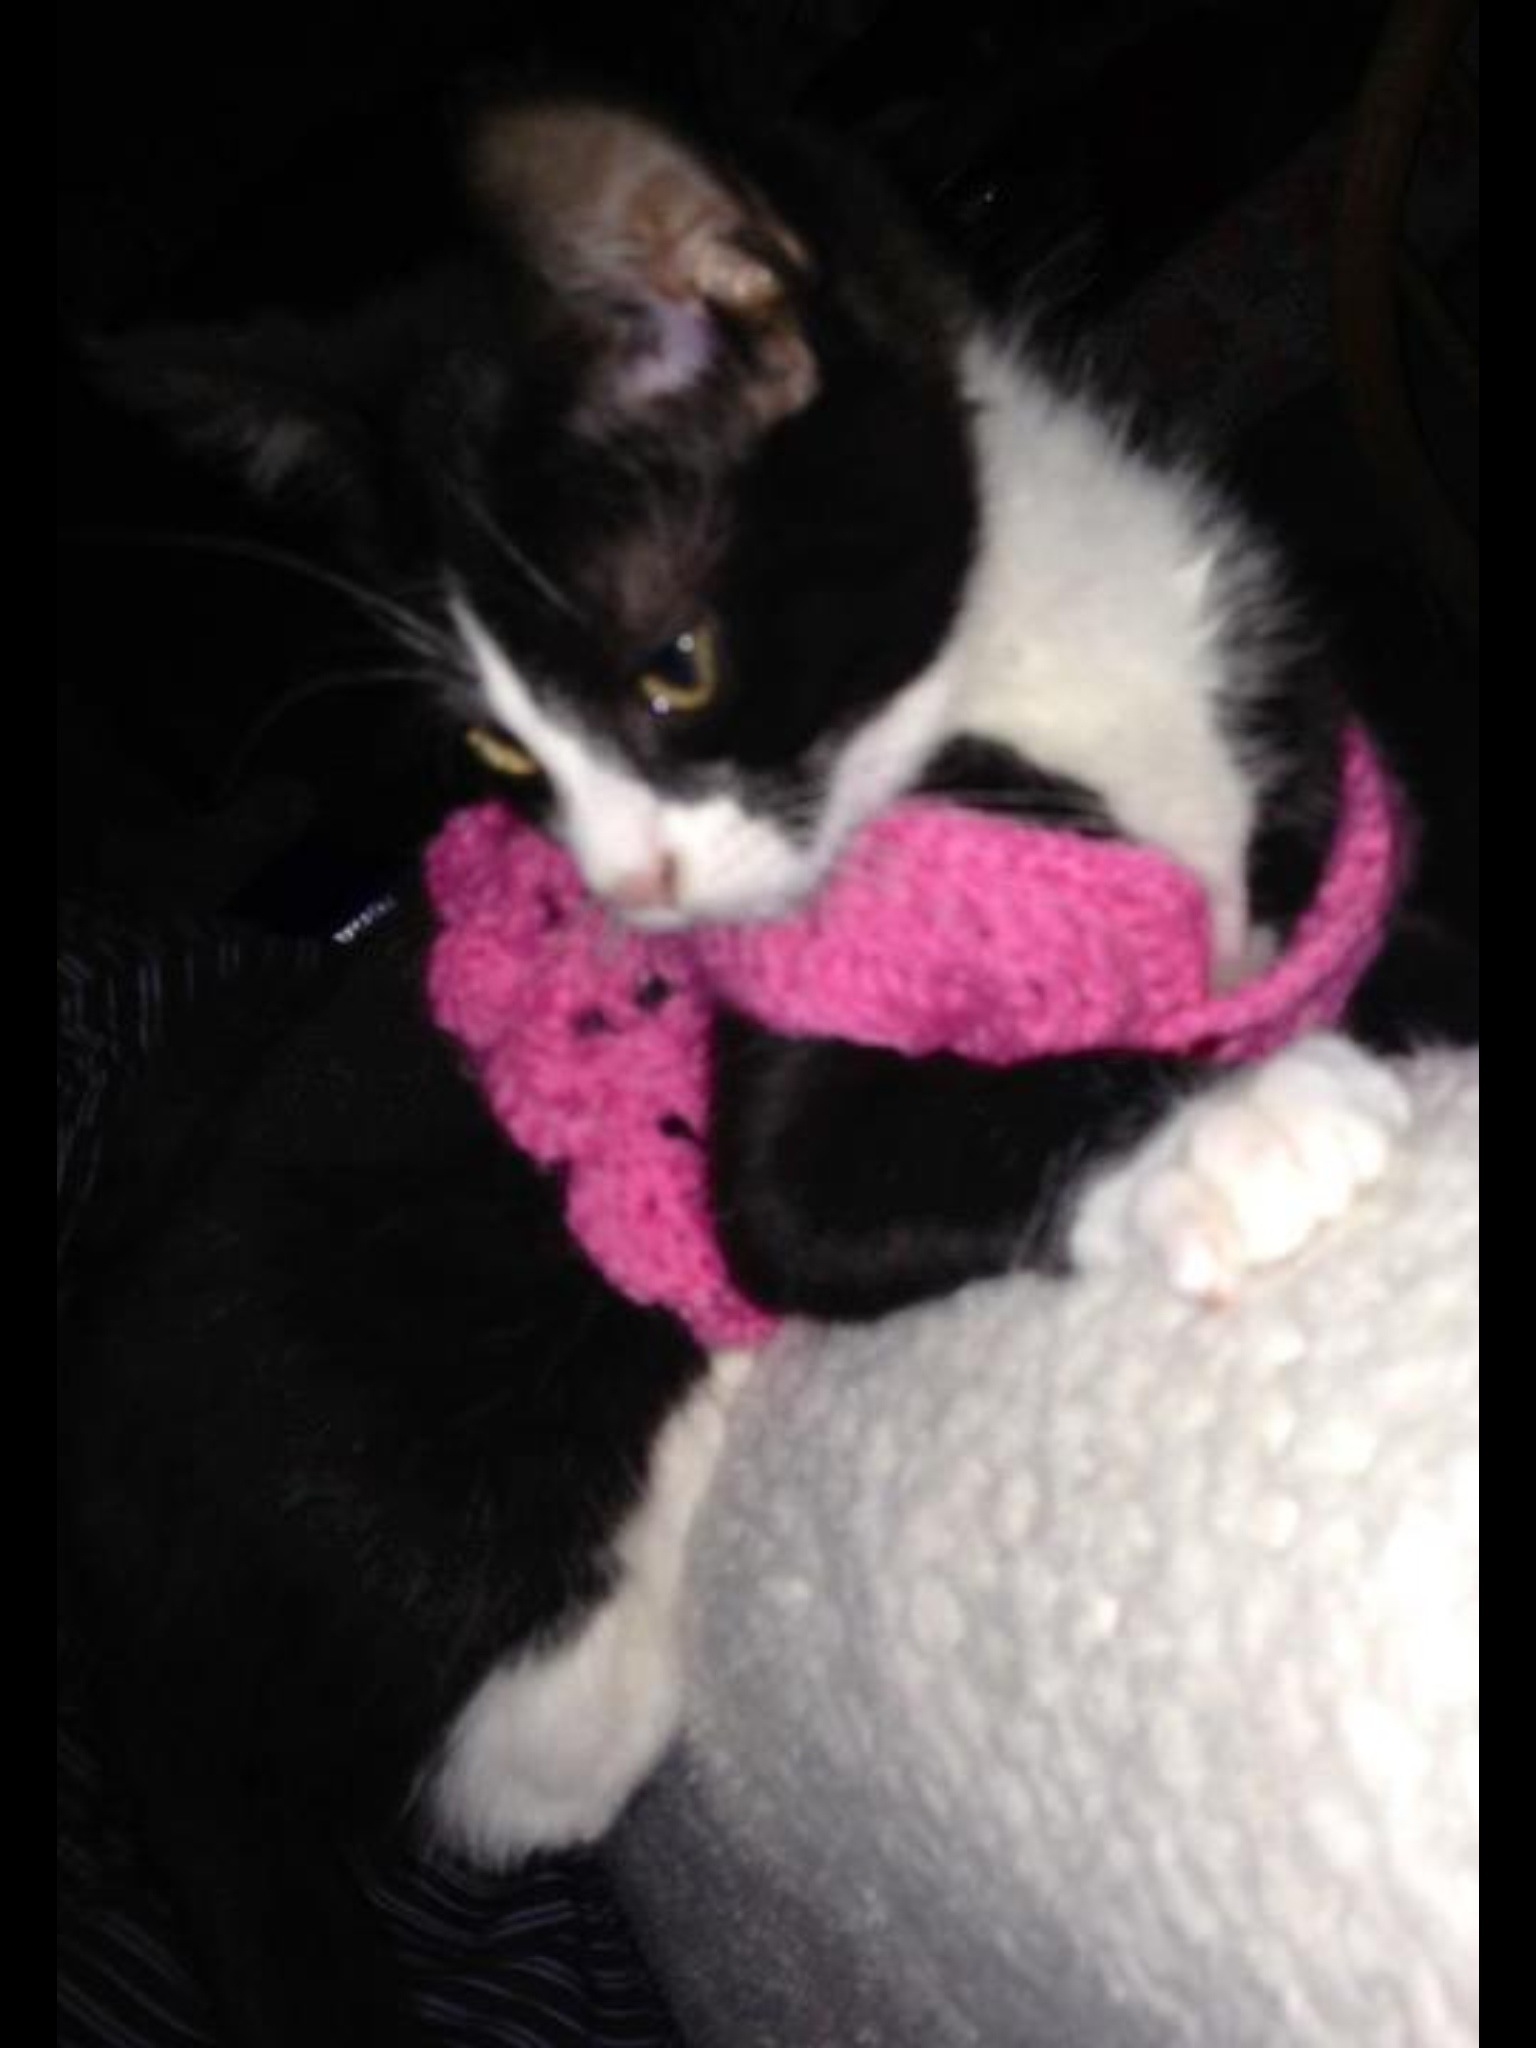
Fu is such a poser! She absolutely loves it! I couldn’t take it off her, and when I did finally manage to … She sat there pawing at the tiny cardigan as if asking me to put it back on, the rolled onto her back in my arms, just like how I put it on her! Hehehe! Crazy kitty! X

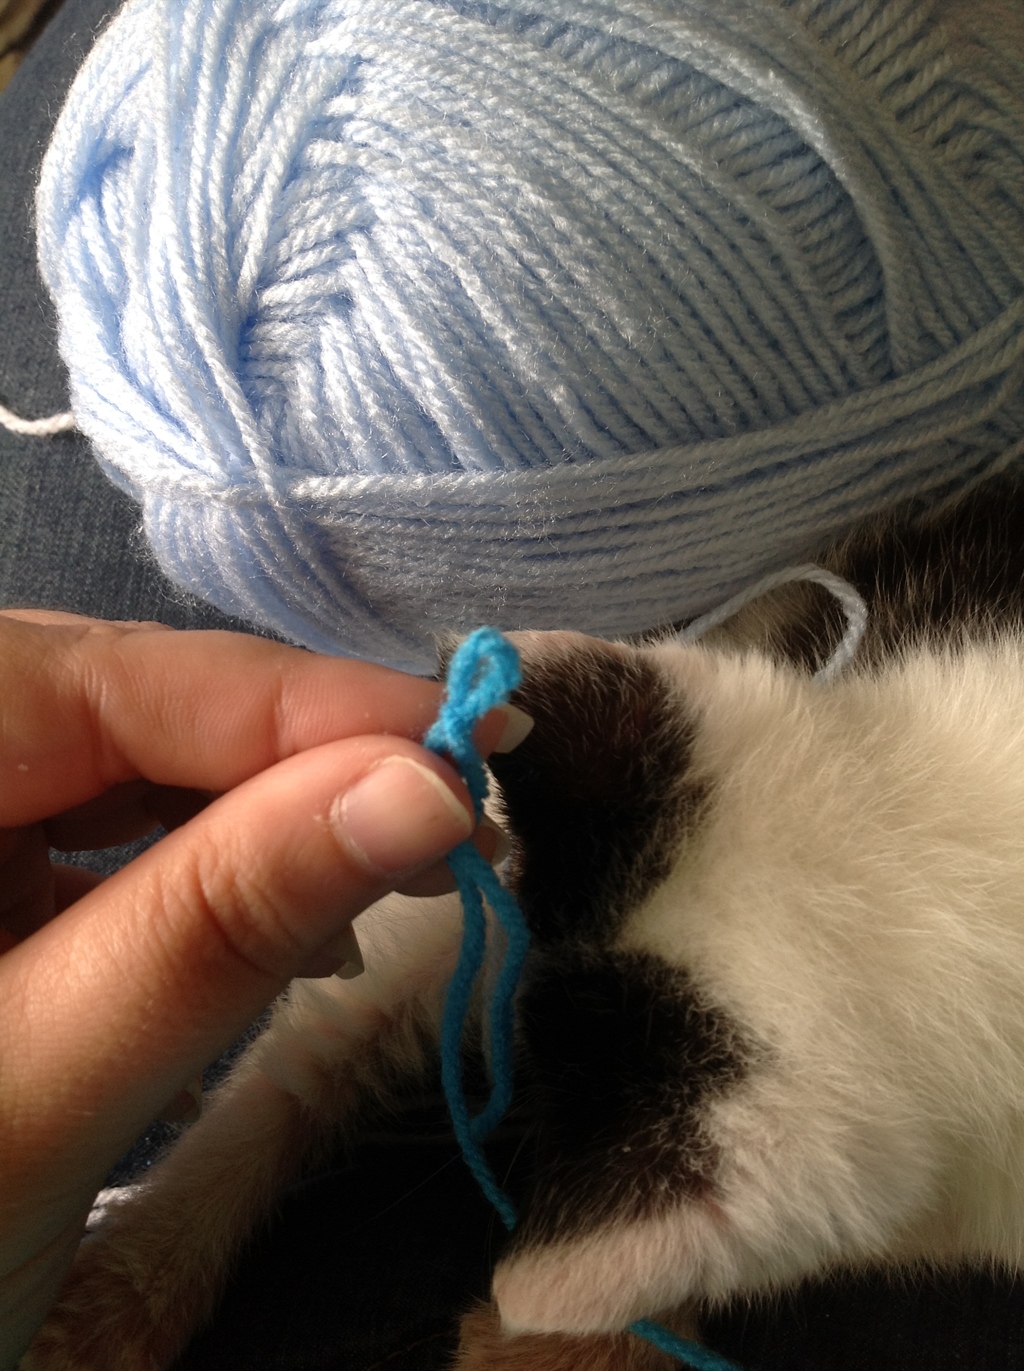
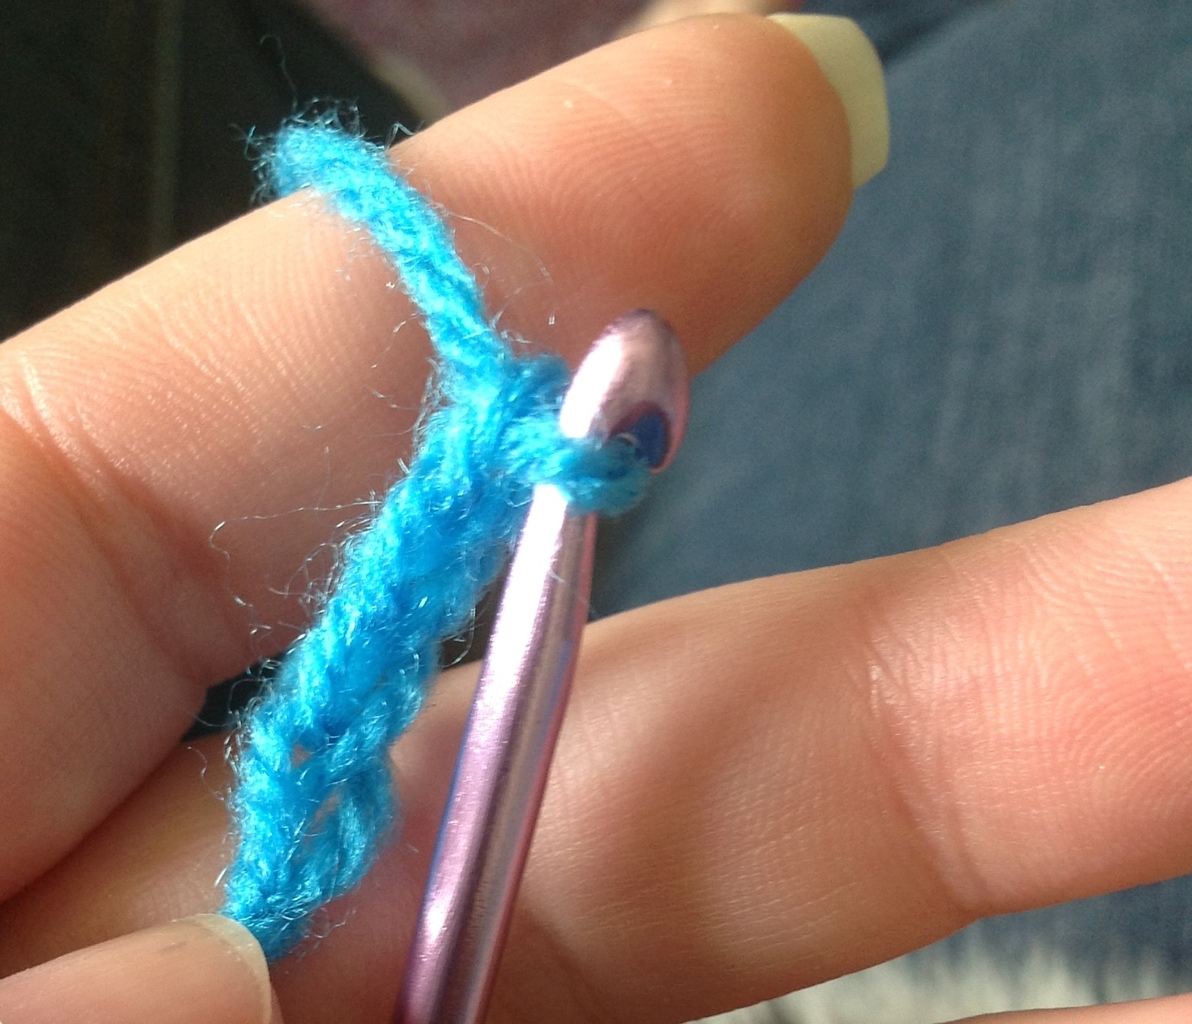
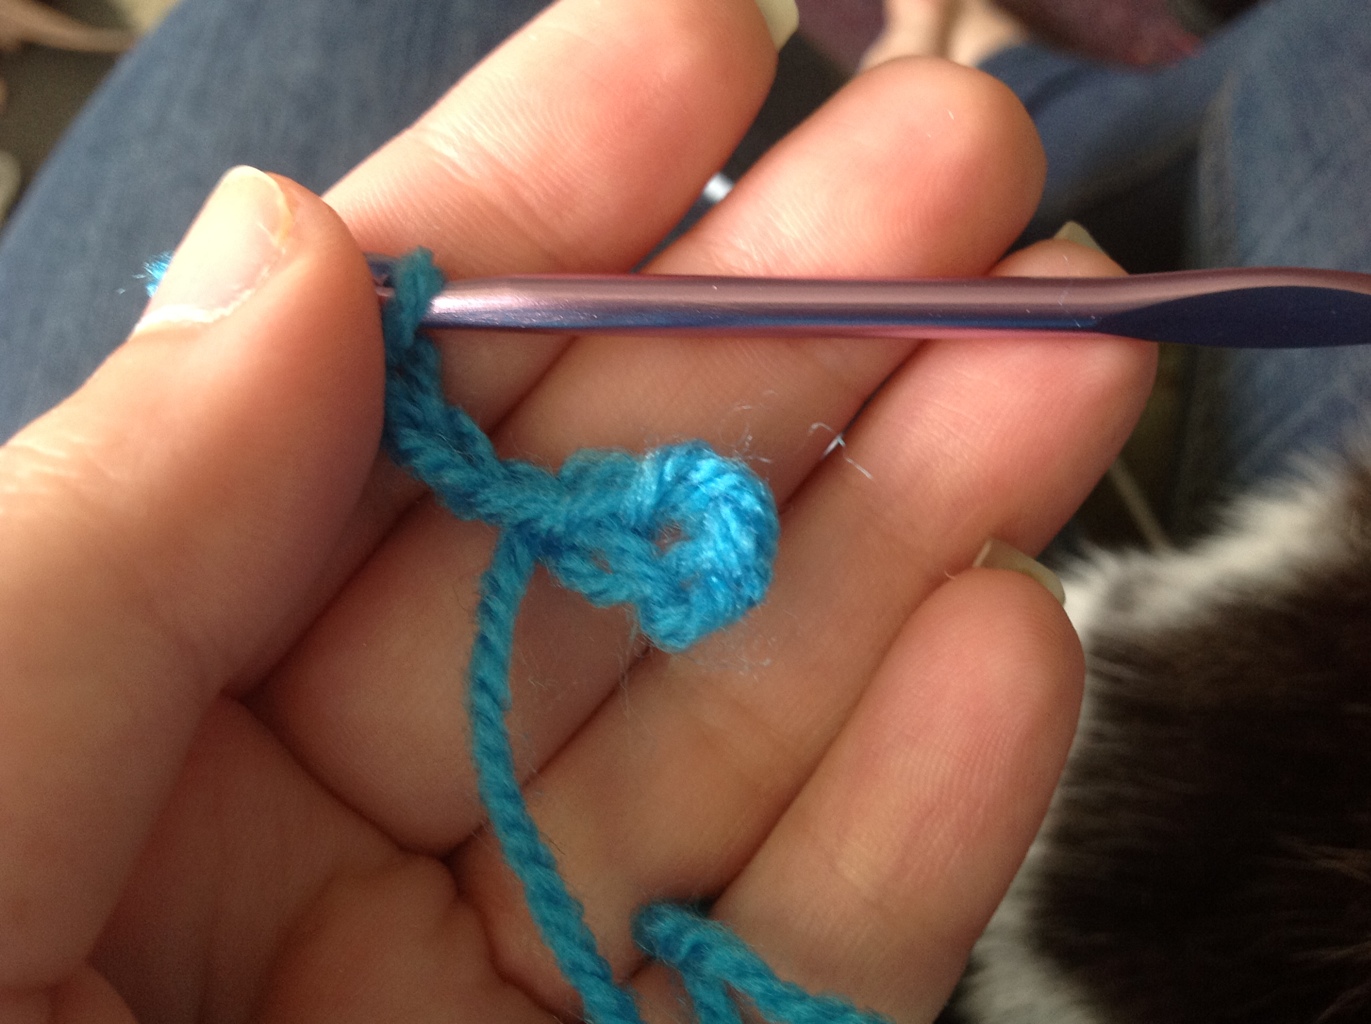
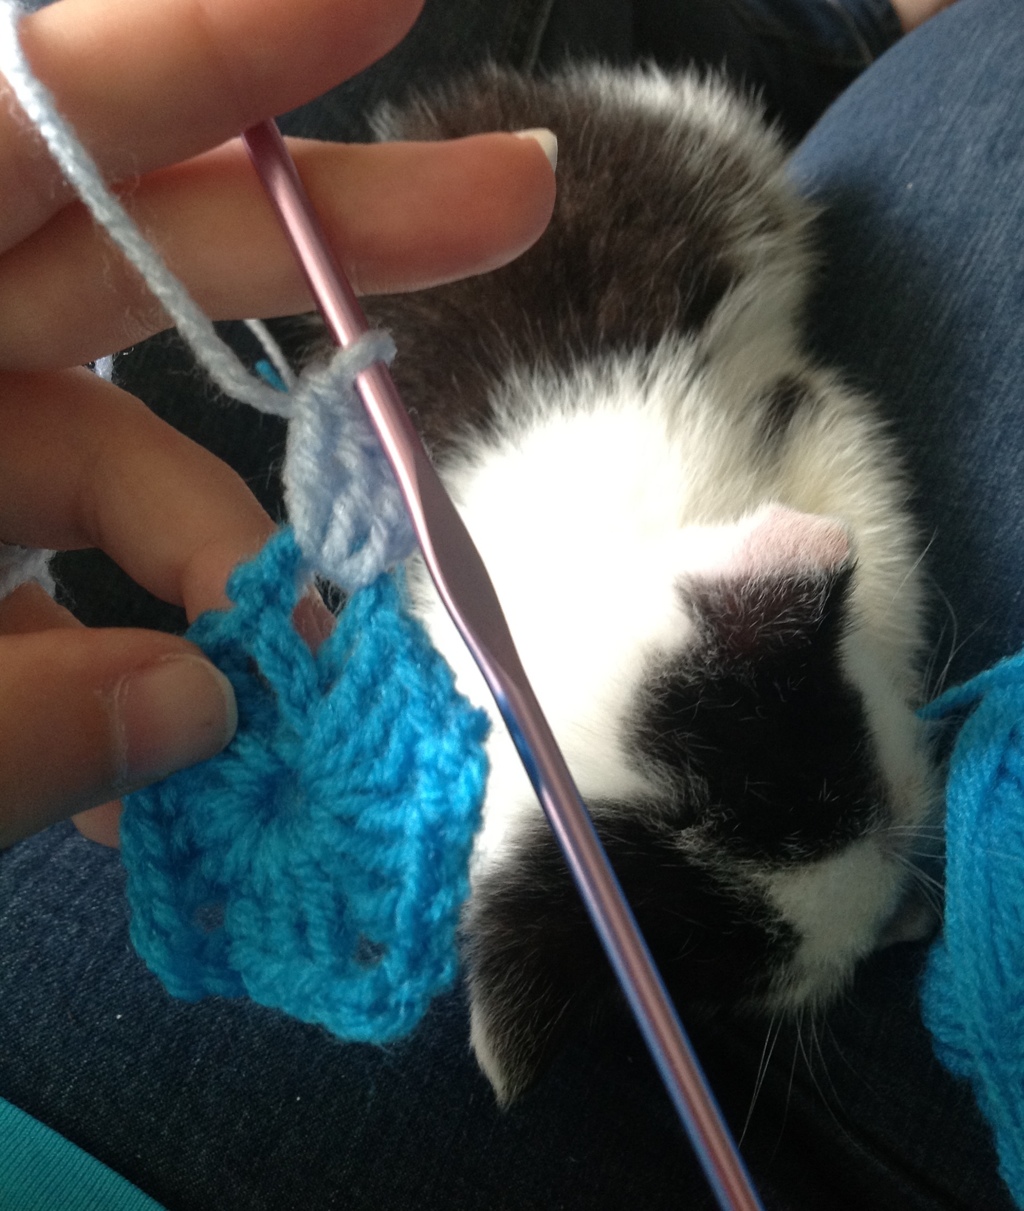
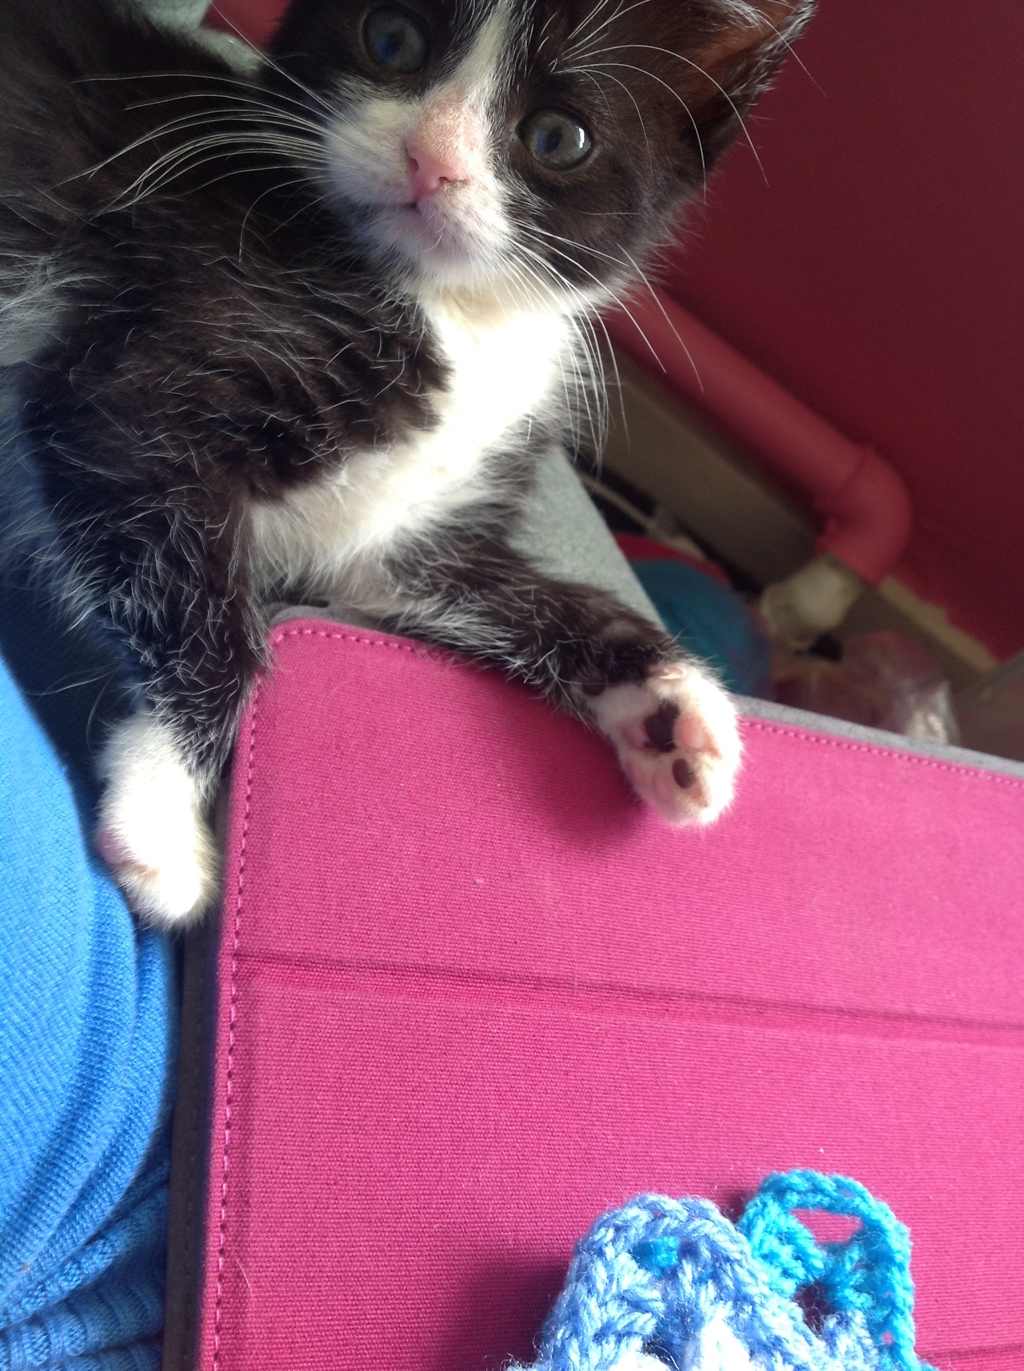
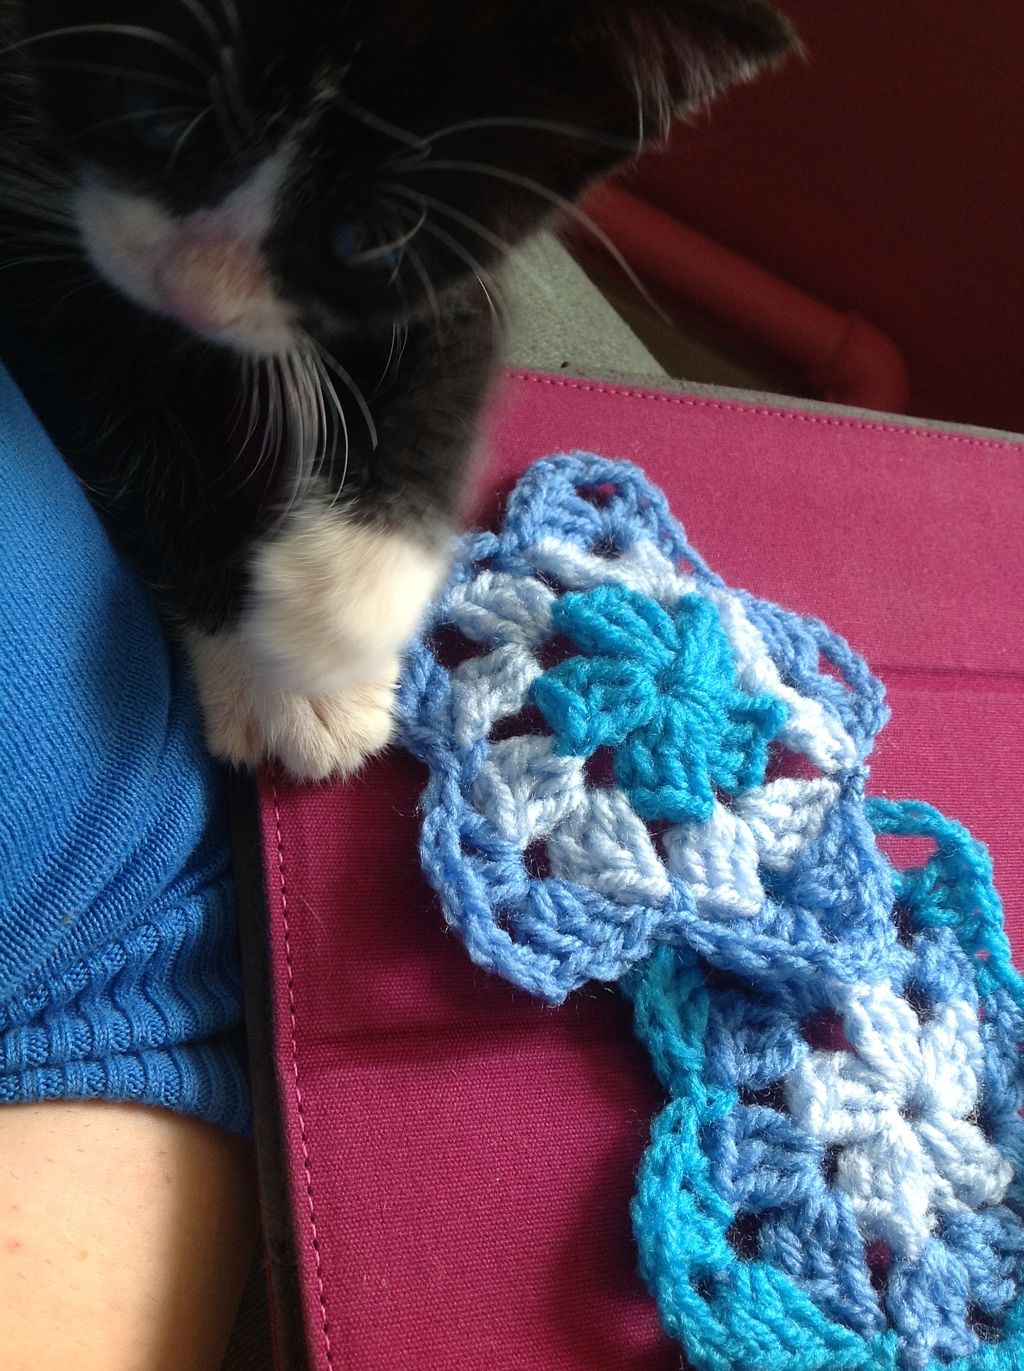
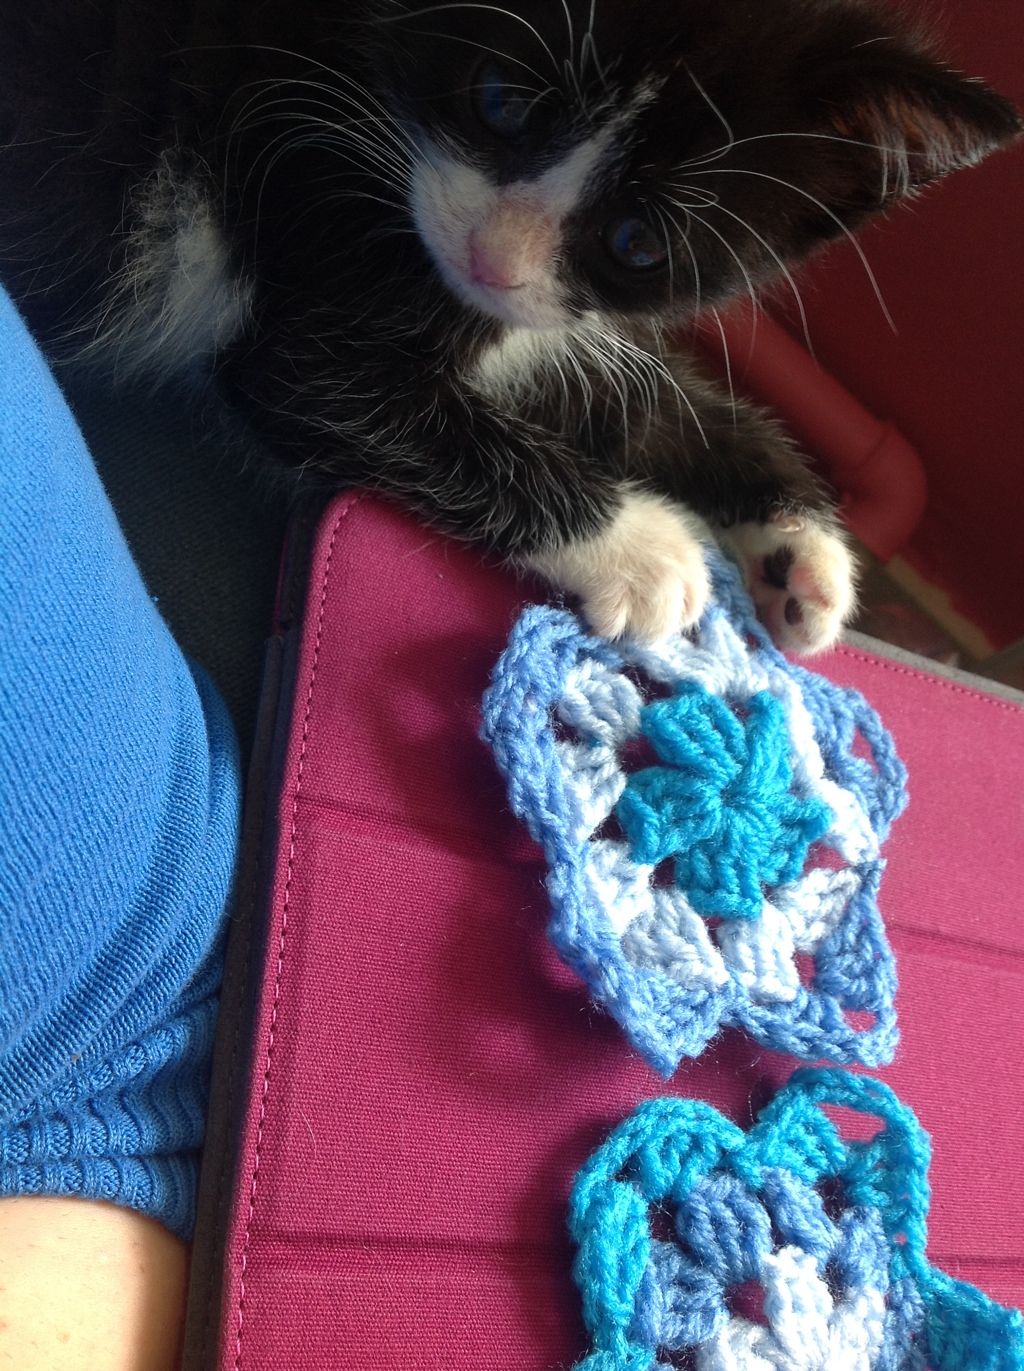
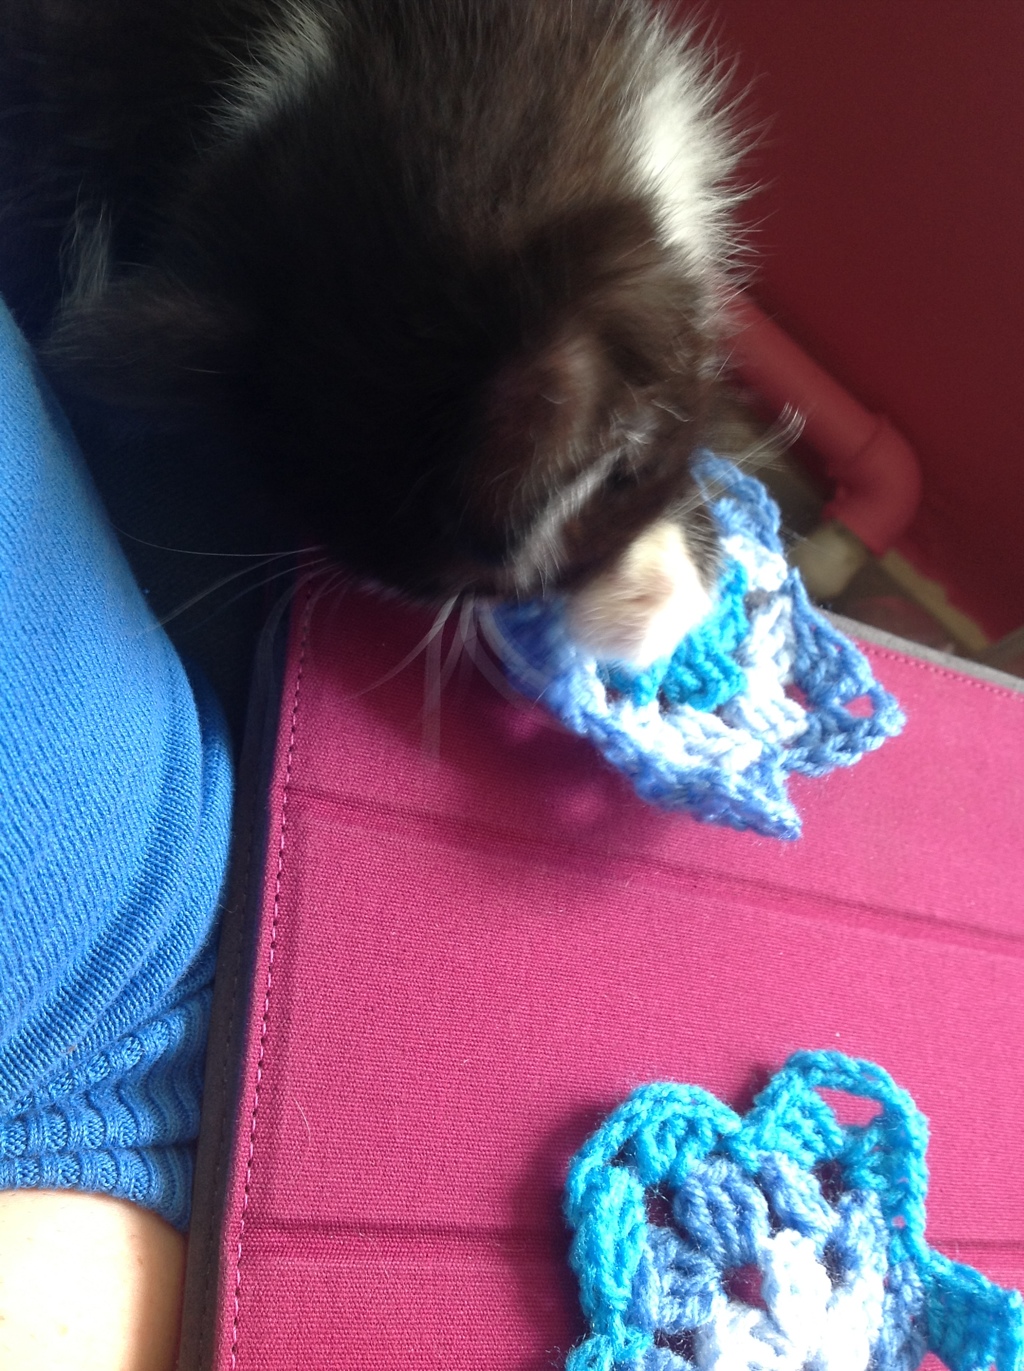
So here are some pictures, bearing in mind it is dark and the flash on my iPhone was blinding Fu … She really wasn’t plotting to kill me!

20121022-234837.jpg

20121022-234842.jpg

20121022-234848.jpg

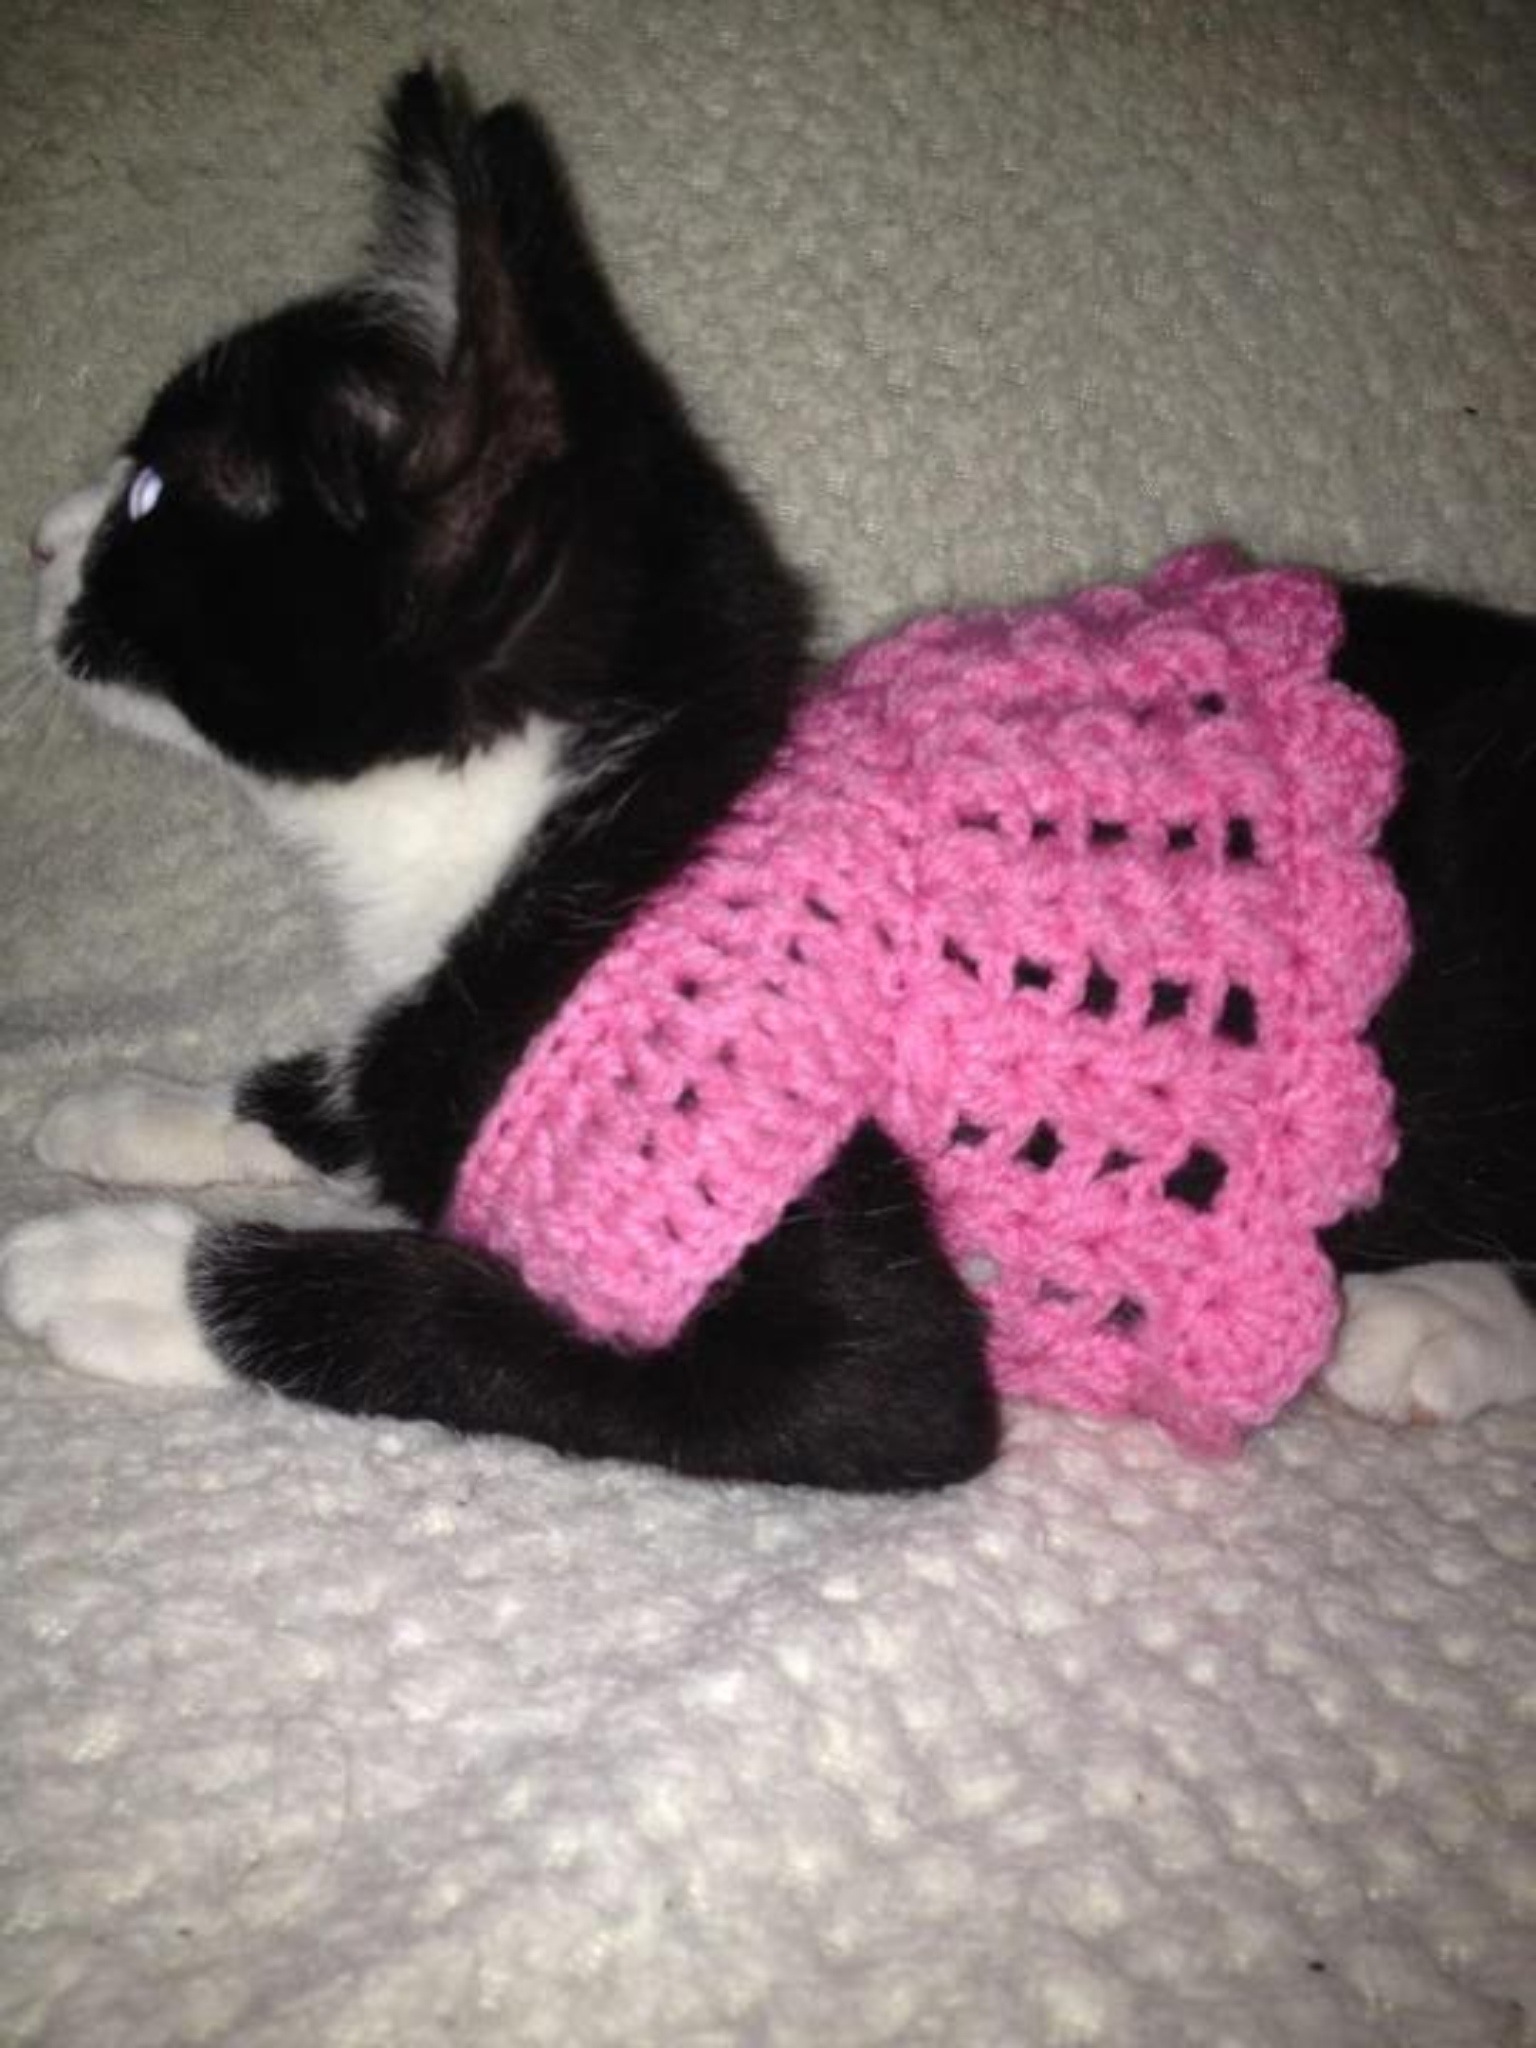
I think I may have to make her a few more!

I also made To (Toe) a hoody as he is a boy, but its a tad too big for him, but, he is growing really fast … So in time he will be a model too! Bless x

Free halloween cross stitch patterns

Booger booger booger!

Halloween is nearly here so I thought I wold design some freebies..

Here are some free cross stitch patterns for you to try.

20121013-032419.jpg
Frankenstein … Add back stitch mouth and stitches across top of head.

20121013-032531.jpg
Frankensteins bride… Add back stitch mouth and stitches across top of head.

20121013-032657.jpg
Zombie … Add back stitch mouth.

20121013-032751.jpg
Dracula… Add back stitch mouth, and maybe some blood dripping from teeth.

20121013-032857.jpg
Mummy … Back stitch bandages to define them.

20121013-032958.jpg
Ghost… Back stitch mouth.

20121013-033051.jpg
Pumpkin… AppliquΓ© your own design or use buttons and back stitch face of pumpkin. Back stitch mouth.

20121013-033216.jpg
Witch…back stitch mouth.

20121013-033310.jpg
Spider … Back stitch legs and mouths. Use buttons or beads for spiders eyes.

20121013-033429.jpg
Cat … Back stitch mouth and whiskers.

Happy Halloween x

Free tutorial: Crazy patchwork

Here is another fun craft to try πŸ™‚

20121006-175136.jpg
Choose complimentary fabrics

20121006-175239.jpg
Cut a square the size you want of a base fabric ( it does not matter what you use as long as it doesn’t stretch as you will not see it when finished)

20121006-175440.jpg
Cut a triangle of fabric and place in the centre of the large square you just cut for the base fabric. Place the triangle with the right side of the fabric facing the base fabric.

20121006-175703.jpg
Sew a 1.5cm seam allowance.

20121006-175757.jpg
Fold triangle of fabric over to hide the seam just created.

20121006-175854.jpg
Cut a second triangle of fabric.

20121006-175940.jpg
Place on top of other triangle right side facing down with sides matched.

20121006-180058.jpg
Sew a 1.5 seam allowance.

20121006-180145.jpg

20121006-180209.jpg
Fold triangle over to hide seam just created.

20121006-180317.jpg
Repeat all around in circles with different fabric triangles. You can add trims and ribbons too.

20121006-181331.jpg

20121006-181403.jpg

20121006-181417.jpg
When your triangles start to overlap the edge of the base fabric, stitch the edges together to secure the layers … Then trim off the excess.

20121006-181604.jpg
Keep going!

20121006-181644.jpg

20121006-181704.jpg
Trim all of the excess to match the base fabric.

20121006-181745.jpg
Ta da!!!

I went on to make my piece more elaborate and beautiful by adding lots of embroidery, sequins, beads, Suffolk puffs (yo-yo’s) and other fab textiley stuff. I then made it into a cushion after many hours of labour.

20121006-182019.jpg

20121006-182030.jpg

20121006-182039.jpg

20121006-182053.jpg

20121006-182123.jpg

20121006-182135.jpg

20121006-182149.jpg

20121006-182213.jpg

20121006-182201.jpg

The cushion is on my website in the shop section. πŸ™‚

Selina Green

Enjoy!

Free tutorial: how to make fabric yo-yo’s or Suffolk puffs

20120929-090508.jpg

Fabric Yo-yo’s or Suffolk puffs as I call them are a lovely way to use up the little scraps of fabric you have left over from your textile projects. I have seen many different ways of using them and one of my favourites is to make them into statement jewellery.

So I have put together a little tutorial on how to make these quick and easy beauties πŸ™‚

You will need
Scraps of fabric
Scissors
Needle
Thread

Optional extras
Something circular to draw around and a pencil
Beads
Buttons
Sequins

20120929-090616.jpg
Cut out a circle of fabric (you can draw around something circular to help)

20120929-090714.jpg
Thread your needle in a matching colour (I used a contrasting colour so you could see what I am doing … Plus I wanted a contrast to sew the button on with.)

Tie a knot in the end of your thread.

20120929-090818.jpg
Now… Think like a pixie …
Sew a tiny little equally sized running stitch around the outer edge, close but not too close as the fabric will fray later.

20120929-090933.jpg
Go all the way round. As you can see it is pulling together already!

20120929-091056.jpg
Pull gently on the thread easing the fabric into a gather

20120929-091204.jpg
This is the part where most people panic and think they have failed! Don’t worry it’s meant to do this!

20120929-091440.jpg
Flatten out the fabric and keep gently gathering until it is all pulled together as tight as can be. (This will vary deciding on what fabric you use.)

20120929-091715.jpg
Add an embellishment to the centre. I have used a button here, but they look really nice with beads and sequins too! It’s all down to playing, experimenting and having fun!

20120929-091959.jpg

My website!!!

I really am getting into this whole world of technology! So much so that I have my own website πŸ™‚

Selina Green Crafts

20120927-112148.jpg

I am transferring my free patterns onto there and will be putting lots of new tutorials on too.

20120927-112240.jpg
I will not charge for my tutorials, however, there is a donation button which will help to keep my pattern and tutorials free. Any kind donations will be much appreciated, just donate what you feel they are worth. Thank you in advance and happy crafting πŸ™‚

Free crochet flower tutorial

20120926-101413.jpg

Here is another crochet flower for you to try … A little more complicated than the last free tutorial, but I just love how it is layered. Enjoy!

20120926-101502.jpg
You will need;
Two different colour wools
3.75 or 4 crochet hook
Scissors

Stitches you need to know;
Slip knot
Chain
Double
Half double
Treble

20120926-101757.jpg
Make a slip knot

20120926-101822.jpg
Chain 5 (this forms one treble and 2 chain in the completed circle of crochet)

20120926-101924.jpg
*Treble into first chain

20120926-102050.jpg
Chain 2

20120926-102134.jpg
Repeat from* four more times. Join to third chain stitch from first step with a slip stitch.

20120926-102310.jpg
Chain 1

20120926-102340.jpg
*Double crochet over chains into gap

20120926-102424.jpg
Half double crochet over chains into gap

20120926-102510.jpg
Three trebles over chains into gap

20120926-102554.jpg
Half double crochet over chains into gap

20120926-102639.jpg
Double crochet over chains into gap

20120926-102735.jpg
Repeat from * in every gap. Join with slip stitch.

20120926-102843.jpg
Fasten off

20120926-102920.jpg
Tie in second colour

20120926-102958.jpg
Flip over flower and work on the back

20120926-103041.jpg
Slip stitch

20120926-103126.jpg
*Chain 5

20120926-103218.jpg
Join to next bar with a slip stitch

20120926-103312.jpg
Repeat from * all the way round, join with a slip stitch

20120926-103518.jpg
Working on the right side from now on

20120926-103819.jpg
Chain 1

20120926-103933.jpg
*Double crochet over chains into gap

20120926-104023.jpgm
Half double crochet over chains into gap

20120926-104222.jpg
Five treble crochet over chains into gap

20120926-104323.jpg
Half treble crochet over chains into gap

20120926-104426.jpg
Double crochet over chains into gap

20120926-104510.jpg
Repeat from * in every gap, join with slip stitch

20120926-104643.jpg
It will be all scrunched up like this. DON’T PANIC Just straighten it out.

20120926-104756.jpg
Weave in all loose ends.

20120926-104901.jpg
Why not try my free leaf tutorial too.

πŸ™‚ Enjoy!

Free crochet flower tutorial

A really easy flower to crochet, it is sooooo quick to make!
Enjoy!

20120925-142446.jpg

What you will need

2 different colours of wool
3.75 or 4 crochet hook
Scissors

20120925-142621.jpg
Make a slip knot

20120925-142709.jpg
Chain 3

20120925-142745.jpg
15 trebles into first chain

20120925-142835.jpg
Join 3rd chain with a slip stitch

20120925-142926.jpg
Fasten off

20120925-143004.jpg
Tie in second colour wool

20120925-143119.jpg
*Chain 3

20120925-143152.jpg
Miss one stitch, slip stitch into second stitch (repeat from * all the way round)

20120925-143510.jpg
Chain 1

20120925-143546.jpg
*Double crochet over chains

20120925-143646.jpg
Half treble over chains

20120925-143730.jpg
Three trebles over chains

20120925-143906.jpg
Half treble over chains

20120925-144040.jpg
Double crochet over chains
Repeat from * in every gap to the end

20120925-144304.jpg
Fasten off

Free crochet leaf tutorial

20120925-115523.jpg

This is such an easy pattern… Before you know it you will have a bush!

20120925-115624.jpg
You will need a small amount of yarn (not necessarily green as autumn is here now :D) Plus a size 3.75 or 4 crochet hook

20120925-115822.jpg
Make a slip knot

20120925-115958.jpg
Chain 10

Working in the back of each stitch

20120925-120029.jpg
Treble crochet into fourth chain from hook

20120925-120121.jpg
Two more trebles in same stitch

20120925-120224.jpg
Treble into the back of the next three stitches

20120925-120325.jpg
Half treble into the back of next stitch

20120925-120410.jpg
Double into the back of next stitch

20120925-120505.jpg
Slip stitch into the back of last stitch

Working in the other side

20120925-120612.jpg
Chain one

20120925-120644.jpg
Slip stitch into the stitch just created

20120925-120748.jpg
Slip stitch into the back of next stitch

20120925-120846.jpg
Double crochet in the back of the next stitch

20120925-120948.jpg
Half double crochet into the back of next stitch

20120925-122422.jpg
Treble crochet into the back of the next three stitches

20120925-122514.jpg
Three treble crochet into the back of final stitch

20120925-122632.jpg
Slip stitch into same stitch

20120925-122719.jpg
Chain 4

20120925-122746.jpg
Slip stitch into the second chain from hook

20120925-122855.jpg
Slip stitch into the next two stitches
Fasten off
Weave in loose threads

Taaaa daaaaa!

20120925-123010.jpg

Granny …. You’re a star!

20120904-112356.jpg

Picture this …. One kitten in the land of nod on my lap after having an exhaustive wrestle with the yarn, the other kitten sprawled out around my neck purring madly and demanding kisses!

I’m going to try my best to crochet a few stars, photographing each step to give you a free tutorial. Yay!

I intend to sew them all together in a blanket, but you can use them in a variety of ways.

So here goes … Wish me luck!

Make a slip knot

20120904-120445.jpg

Chain 4

20120904-120529.jpg

Slip stitch into first chain to create a loop

20120904-120612.jpg

Chain 3

20120904-120652.jpg

2 trebles into loop

20120904-120832.jpg

Chain 3

20120904-120900.jpg

3 trebles into loop

20120904-120938.jpg

3 chain 3 trebles … Until you have 5 …. Slip stitch into 3rd chain of first chain three.

20120904-121105.jpg

Fasten off.

Join 2nd colour

20120904-121155.jpg

Chain 3

20120904-121225.jpg

2 treble into gap

20120904-121257.jpg

Chain three

20120904-121329.jpg

Three treble into same gap

20120904-121406.jpg

Chain one … Repeat in next gap

20120904-121457.jpg

Repeat all around, joining in the same way as before to complete the round … Fasten off.

20120904-121528.jpg

Join 3rd colour IN POINT OF HEXAGON CREATED

20120904-121656.jpg

Chain 3

20120904-121729.jpg

2 trebles into gap … Chain 4

20120904-121814.jpg

Three trebles into same gap then double crochet into side of hexagons gap.

20120904-121917.jpg

Treble into next point of hexagon (it looks a little funny, but it does work when all trebles in set are completed.)

20120904-122058.jpg

Two more trebles to complete set

20120904-122207.jpg

Chain 4 three trebles into same point.

20120904-122331.jpg

Double crochet into side of hexagon and repeat all the way round.

At the end of round ….Double crochet third stitch in first chain into flat edge of hexagon.

20120904-122533.jpg

Tricky to explain so there are a few photos …

20120904-122636.jpg

20120904-122701.jpg

Fasten off.

And here is your completed star!

20120904-122858.jpg

And if that wasn’t tricky enough by having a kitten sleeping on my lap…. Fu decided she would make it more difficult by laying under my arm, then testing how fun the stars are!!!!!!!!

20120904-123255.jpg

20120904-123304.jpg

20120904-123311.jpg

20120904-123317.jpg

20120904-123325.jpg

20120904-123332.jpg

20120904-123343.jpg

20120904-123352.jpg

20120904-123401.jpg